use an ESP32 board with Home Assistant
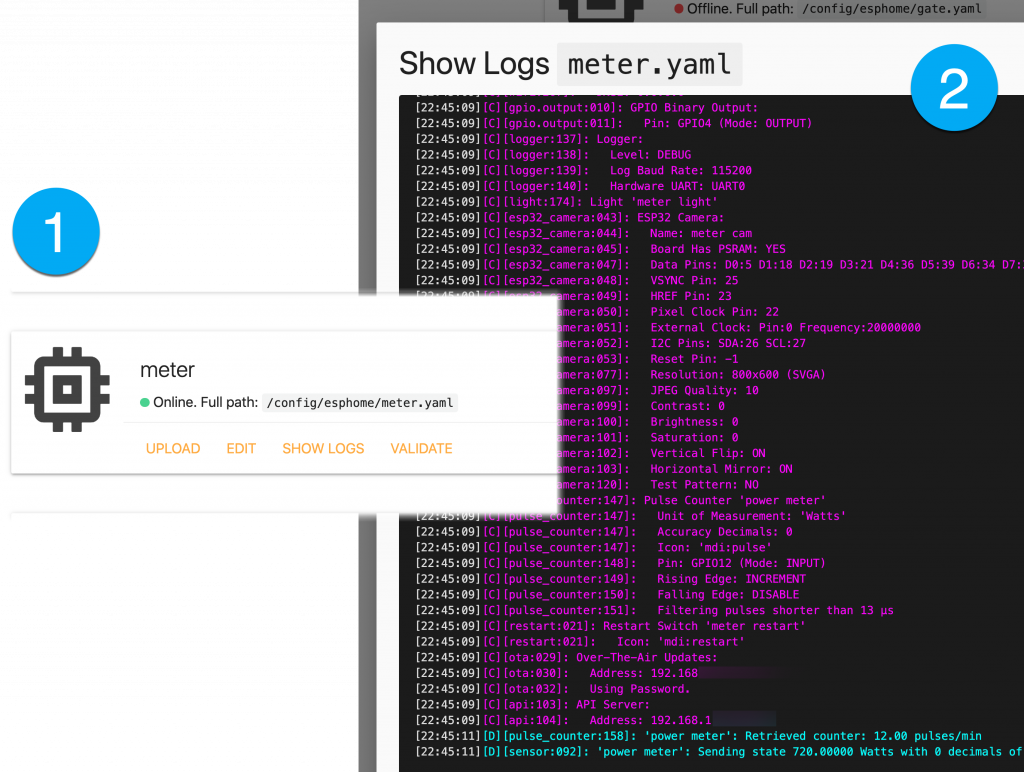
When a ESP32 device, such as a development board like the wemos D1 mini or ESP32-CAM, has been flashed and powered, it will use the password you added to the code to connect to your wifi. The ESPhome interface in Home Assistant (pic below) will show that the device (or ‘node’) is Online. If you choose Show Logs you’ll see the data it’s trying to send to Home Assistant. On this page I’ll show how we get this data into Home Assistant.
a tutorial sequence: > the offer > why a platform > home assistant > ESPhome > camera project > main menu
Power your device
Let’s pause to think about power supplies for different boards. A Sonoff device is self powered so it looks after itself. An ESP32 with a USB socket can be powered with an old phone charger at 5v 250mA. A ESP32-CAM may only have a 5v pin and a GND pin – so you’ll want to connect these pins to a USB charger. You could hack and solder an old USB cable as below to power the ESP32-CAM. You could also use an FTDI, set at 5v as below, to power the ESP32-CAM.
Some projects use sensors connected to the ESP and they need power too. As I’ll show in other projects, I solder Dupont wires together to give a spare red and black wire for a sensor. The ESP32 pin marked VIN offers 5v so I use that to power a sensor – but I can’t yet verify if that was a good or bad idea.


add the flashed POW2 to Home Assistant
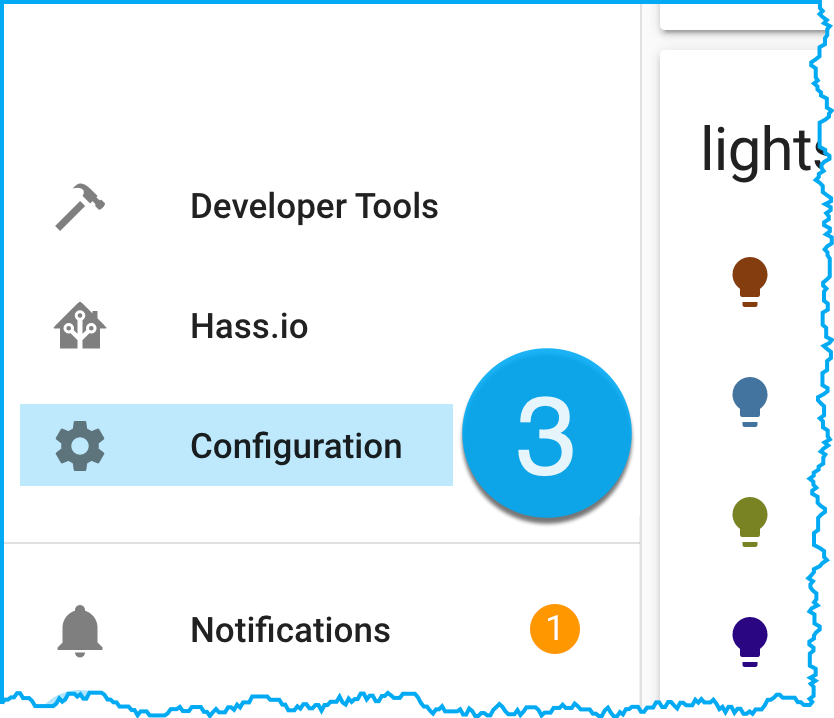
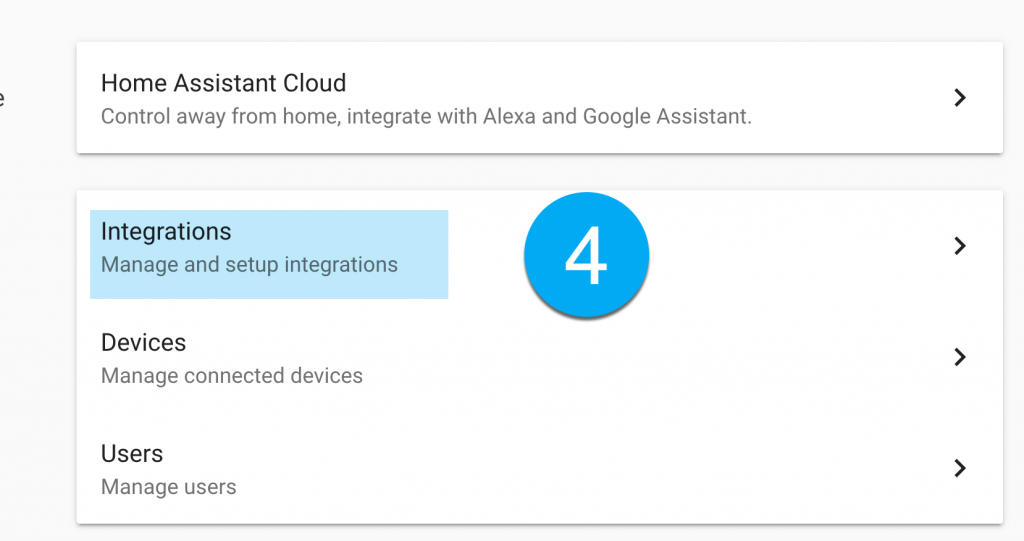
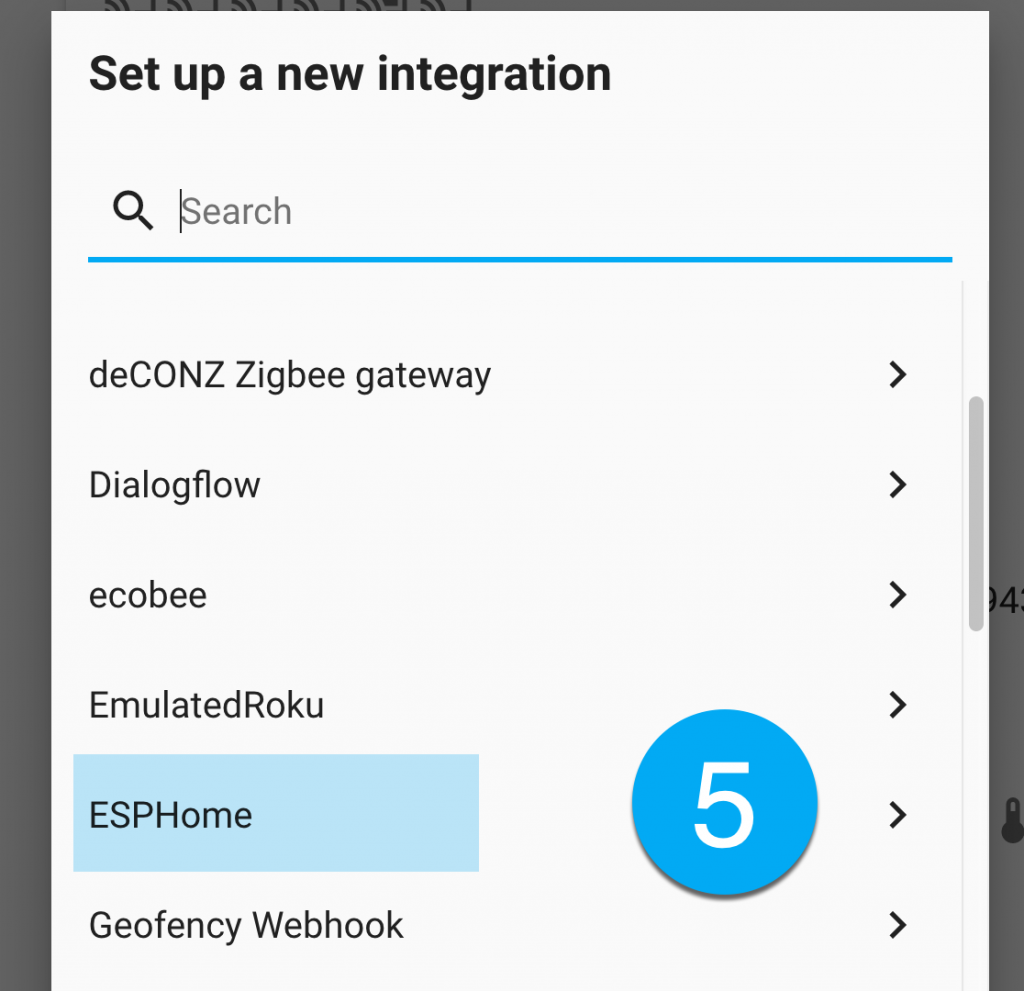
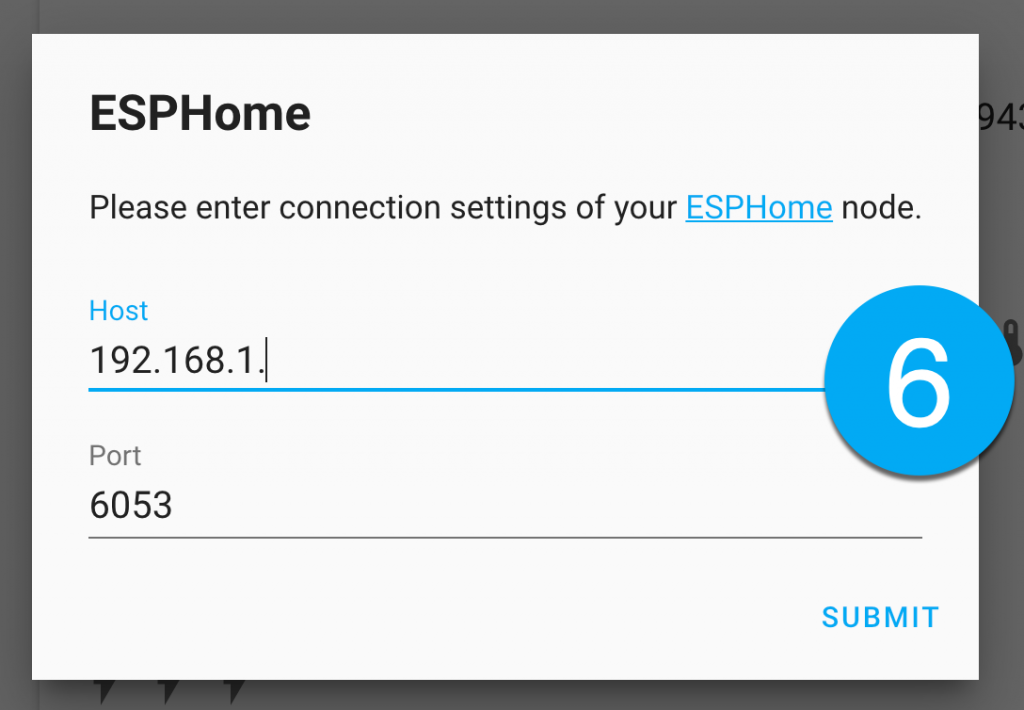
Home Assistant will usually discover an ESPHome device and notify you – taking you to step 7 below. If that doesn’t occur follow this sequence go to: Configuration > Devices & Services > integrations > ESPhome > Enter the IP address > done.
Add the entities to the Home Assistant frontend
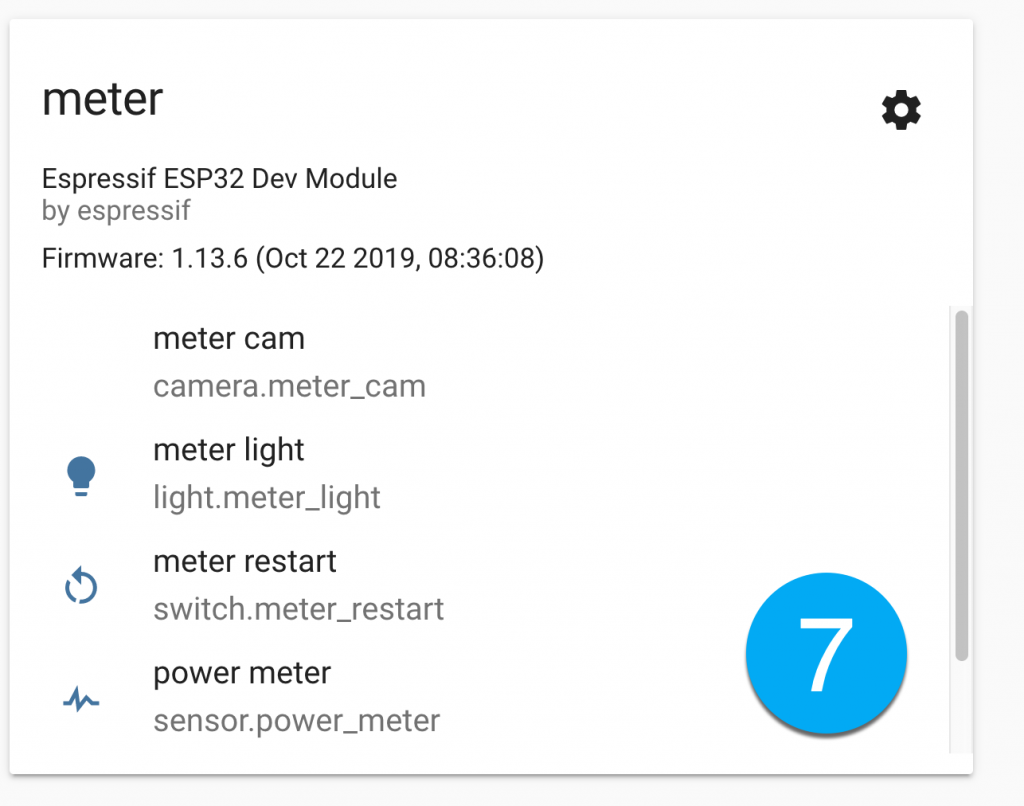
In step 7 above you saw the list of entities that were added to Home Assistant. The names correspond with the code you used and need remembering. Go now to the Home Assistant overview, click Configure UI > click + and choose a display card. For the full story of how this works, see the video or this tutorial, with more thanks to Juan.