sound / motion activated LED light strip for a staircase #2
An LED strip 2 metres long runs beside the staircase. A sensor detects movement which triggers a light pattern along the strip. But if the sensor is a microphone, rather than a motion sensor, our lights can respond to each footstep and make our staircase unusually ‘interactive’. In this write-up I’ll show how to connect up a microphone chip to WLED software on a ESP32 board.
PIR sensors, like those on a security light, or a rcwl microwave sensor can also be used to detect people, however a microphone is inexpensive and discrete and leads to some interesting possibilities.
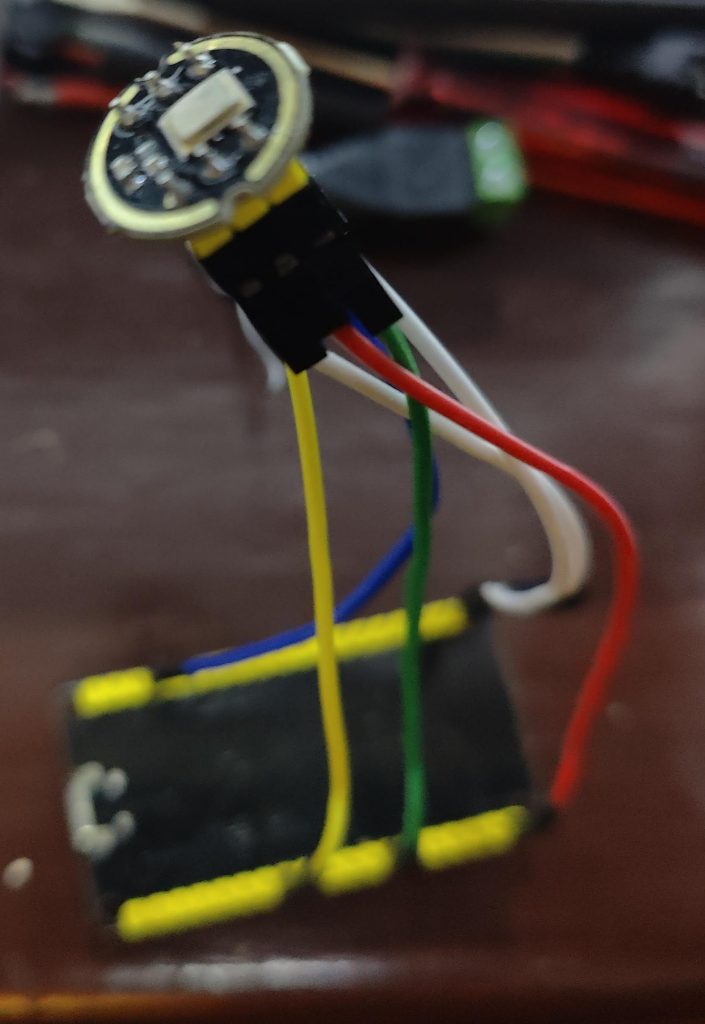
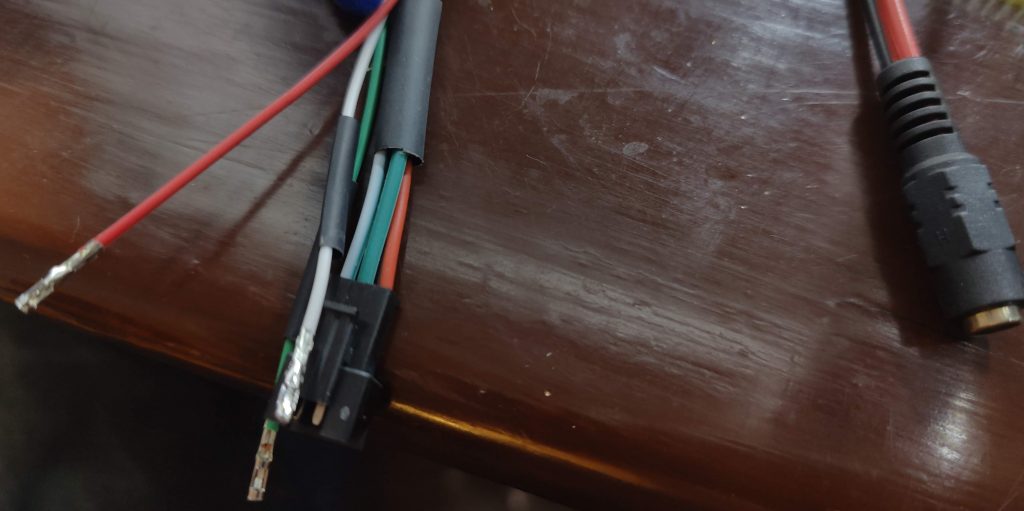
shopping list for motion activated stairway lights – see photos
- INMP441 I2S digital microphone / sensor – (< £2-£5 on aliexpress)
- Raspberry Pi running Home Assistant with the ESPhome add-on
- An ESP32 development board which will run ‘WLEDSR’ (sound reactive version of WLED). Hardware examples below (<£12)
- A project box or electrician’s junction box – drill a hole if you want the microphone to protude. You can instead screw the project box below a staircase tread where it can pick up vibrations / movement
- A power supply capable of 5 amps at 5v
- Female Dupont wires if the microphone sensor has pins – otherwise you may solder male pins of Dupont wire on the sensor
- I would use silicone insulated 18 awg for a long cable run to the top of the stairs but 20 awg will do too. This type of insulation doesn’t melt when you solder the wire.
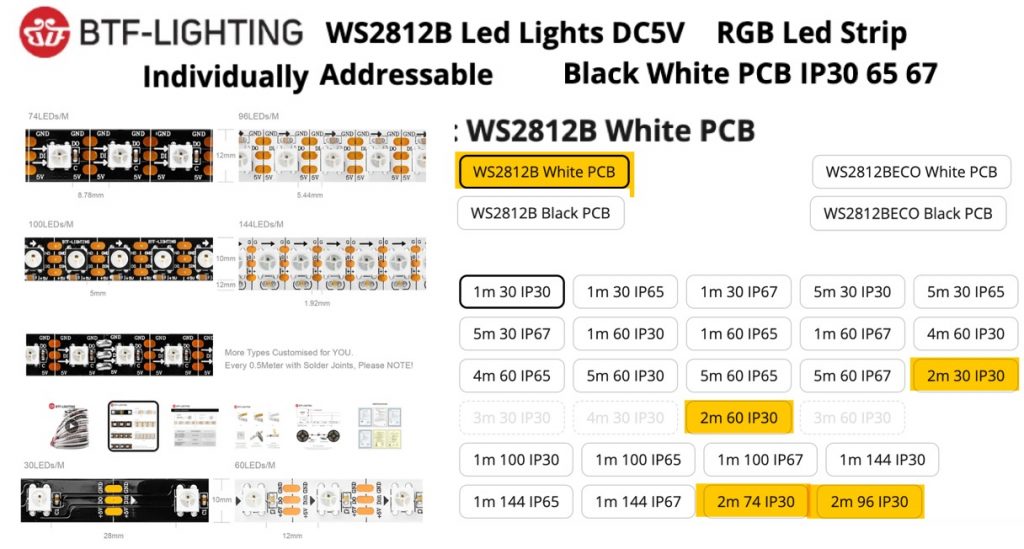
- 2 metres of 5v addressable LED strip – for example 5v WS2812B from BTL lighting at aliexpress. The choice is probably overwhelming but the 5v versions can work up to 2 metres and 60 LEDs per metre or more will do for me. I choose IP30 versions if the strip is going to be encased in an aluminium profile but you could use IP65 LED strip which has a protective silicone coating. The IP67 version is encased in a silicone sleeve, is well protected but you might need to cut the protection to join strips on a 2 metre run.
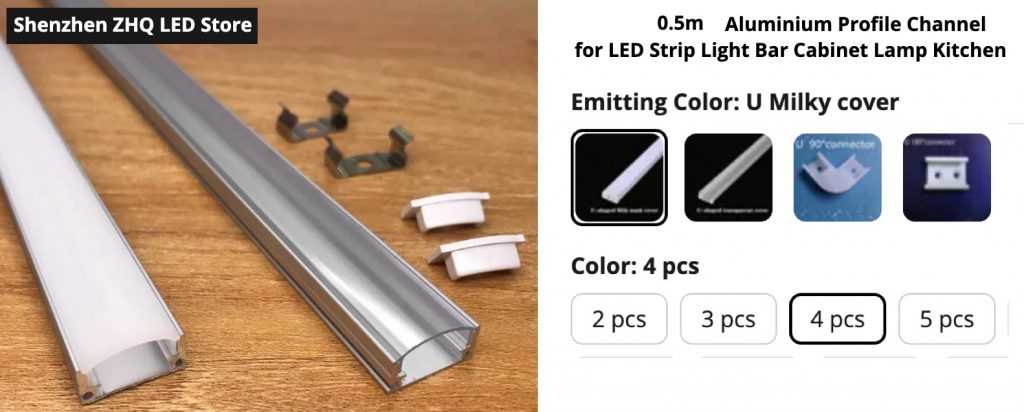
- Aluminium channel / profile and a milky diffuser cover to hold the LED strip in place – see the example channel below which comes as 0.5m pieces so you’ll need four for 2 metres. Choose a clear cover if you like to see LEDs as dots.
- A staircase with a mains socket to power the project – eg a staircase with a void or cupboard below it


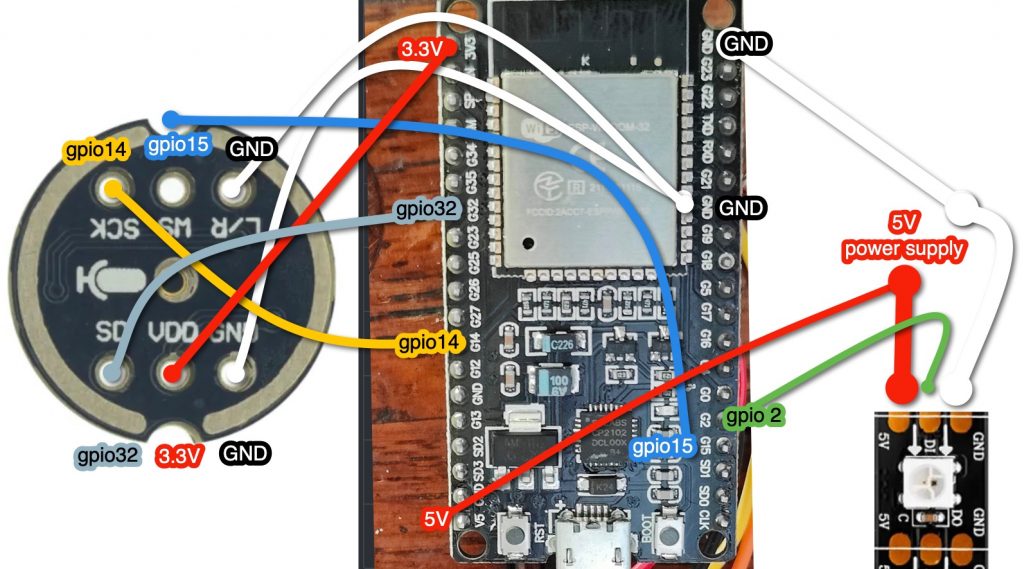
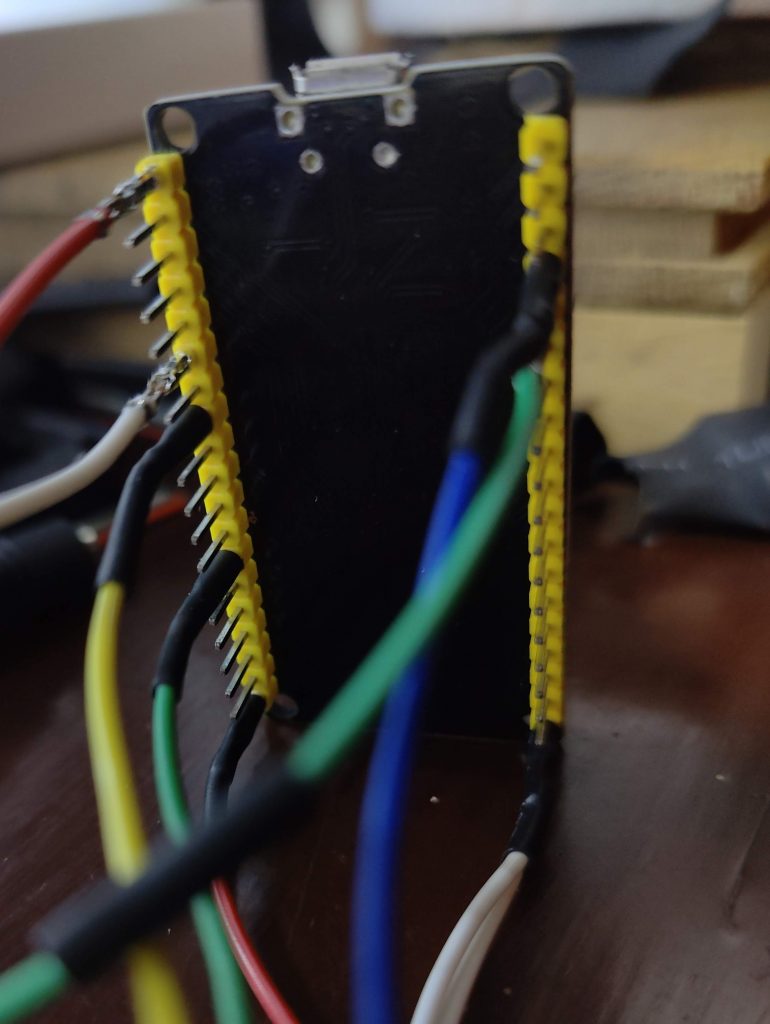
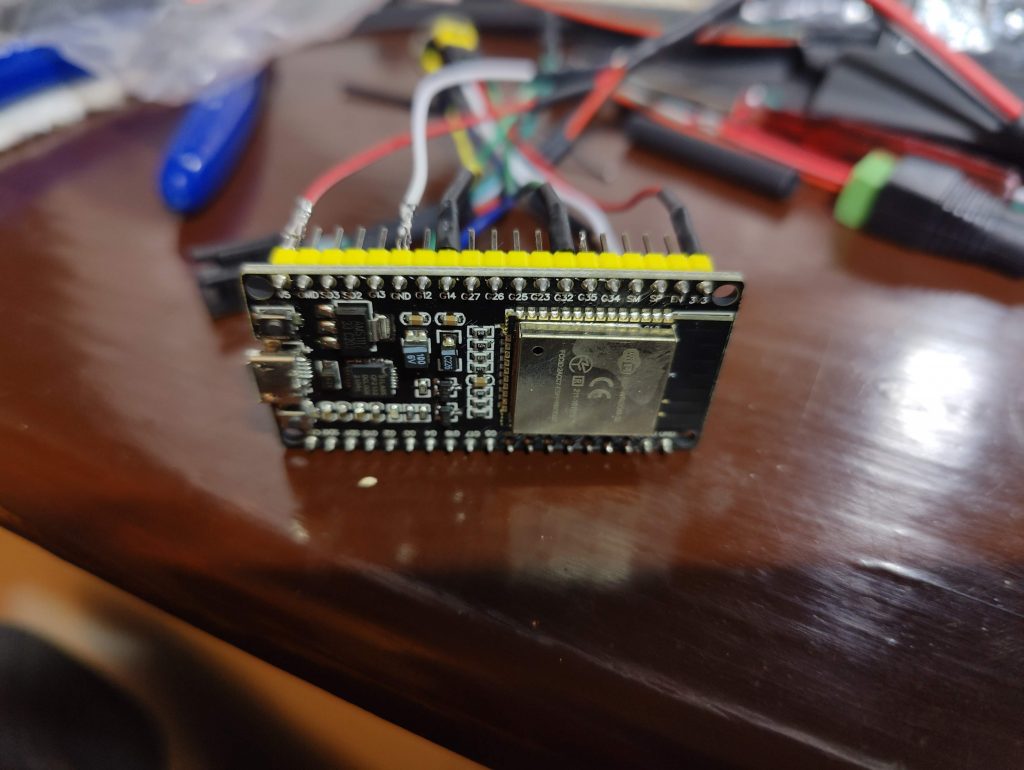
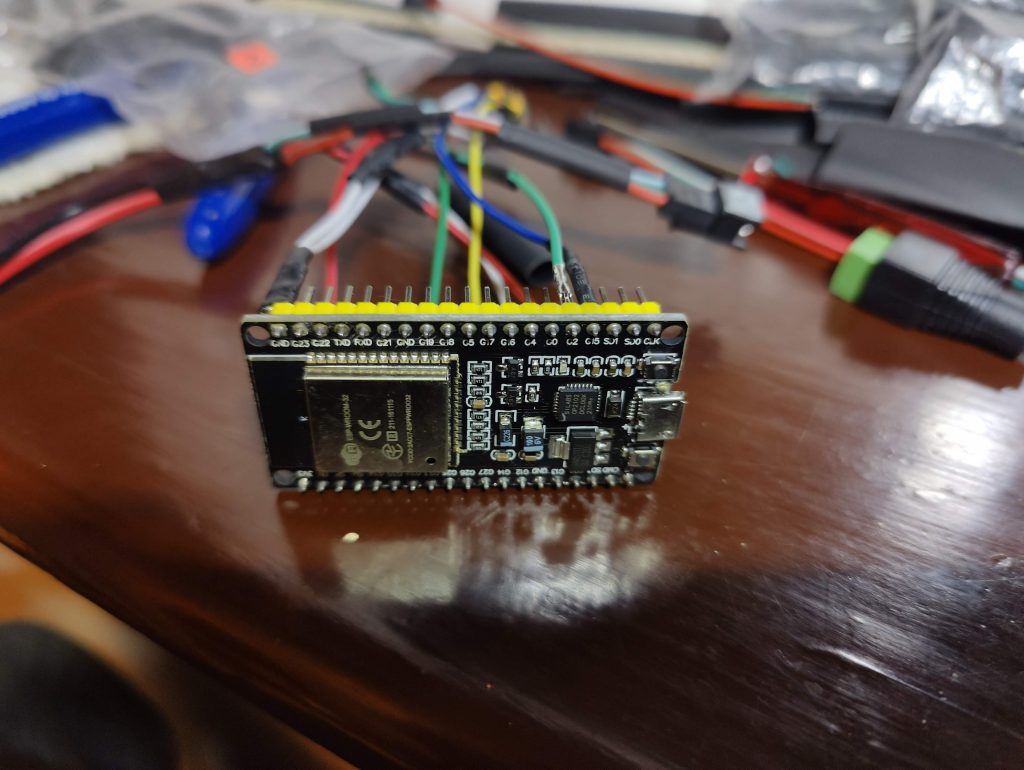
wiring diagram
The wiring is shown in the next two diagrams. I tend to solder and glue the connections after I’ve passed wires through whatever I’m using as a project container: check twice and solder once. The LED strip should arrive with a three-way connector at each end. Cut off the male three-way connector with its leads from the far end of the LED strip and wire the red and white wires to your power supply with fatter (eg AWG18) leads. Solder the green (signal) wire to GPIO2. Check everything again!

install wledSR
Disconnect the power lead to do the installation. Instead power the ESP32 board with a USB data lead from your PC or Mac. Go to https://install.wled.me and follow the instructions to install WLED Sound Reactive. When this completes your ESP32 with WLED installed will create a Wifi hotspot. Connect to this and change the wifi settings to connect to your own wifi in the web UI.
which settings in WLED need to change?
Here’s a checklist for what WLED settings must be changed
- add your wifi details to WLED – you can but don’t have to set a fixed IP address
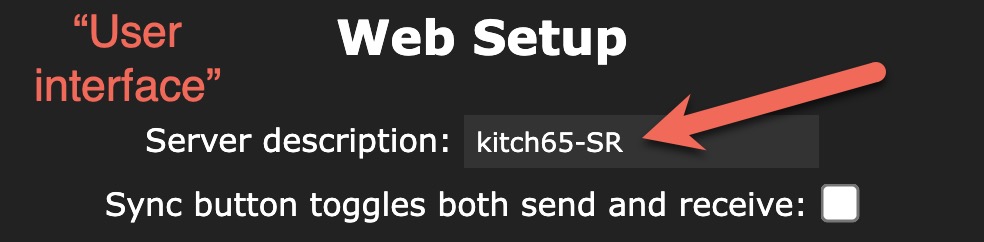
- go to User interface and change the name of the ‘server’ to ‘staircase’
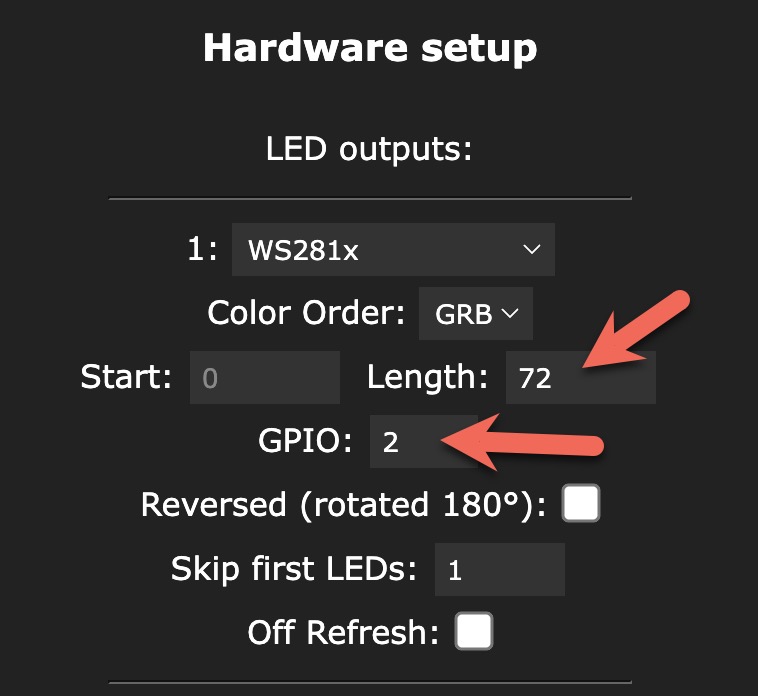
- go to the LED settings and enter the number of LEDs on your LED strip
- ensure the GPIO to trigger the lights is set to GPIO2
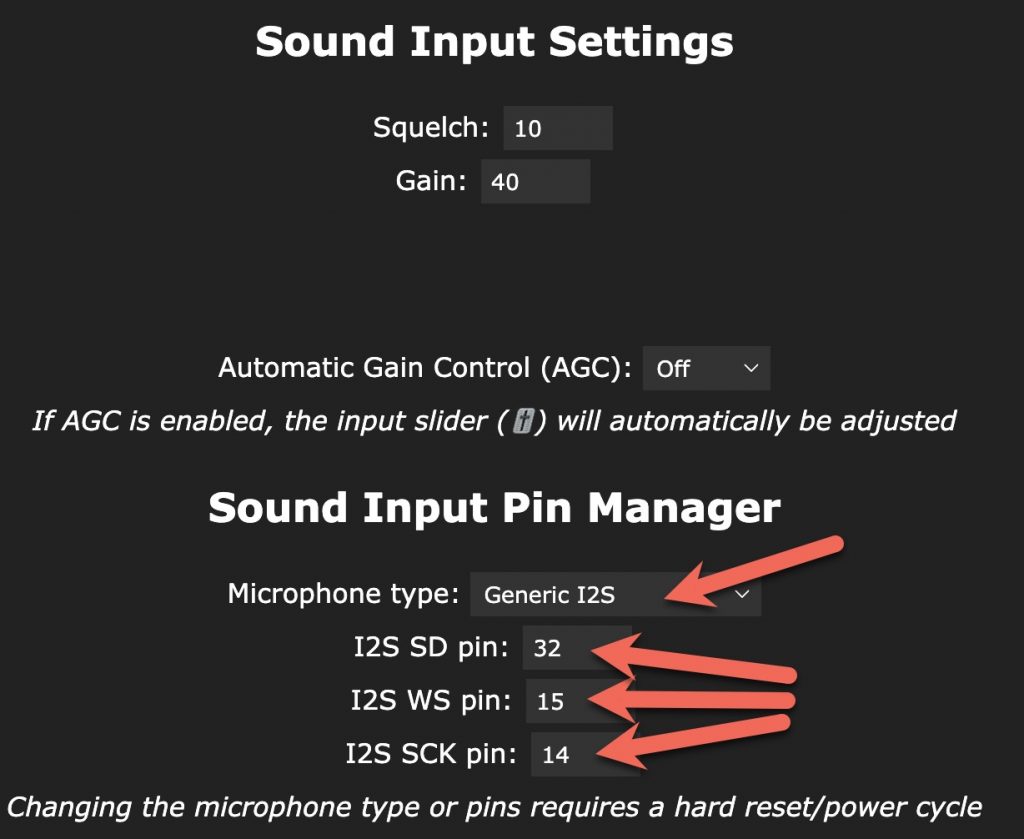
- under sound input settings enter the GPIO pins that you used – or as shown below.
- under sync interfaces go to ‘audio sync’ and enter the mode as send/receive/disabled depending on whether ou have other LED strips