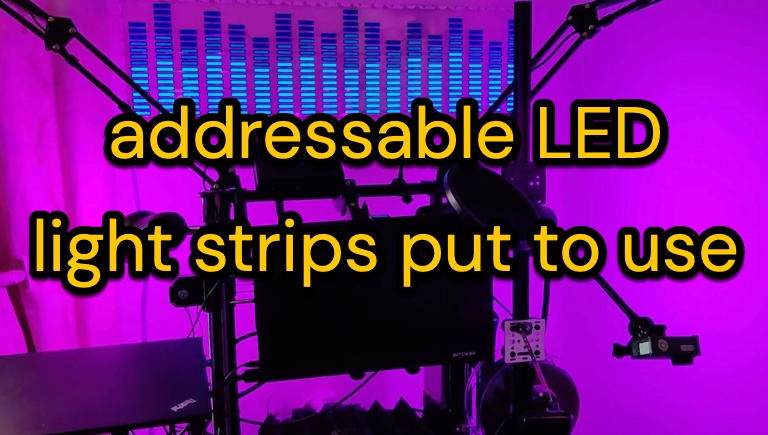
addressable LED light projects
There are ‘analogue’ LED lights on a tape that do a fine job of creating interesting lighting. All the LED lights on the strip usually do the same brightness or colour. There are also LED strip lights where every LED can be doing something different with the result that you can create unique effects. Example projects here
- When they are sold as kits, addressable LED strips go by different names such as iRGB or Dreamcolor lighting. Buying an LED light strip complete with a power supply, controller, remote control or app is the most sane thing to do.
- Buying separate LED light strips, power supply and controller gives you a lot more control. You can buy better quality (more intense) lights and access a wider range of light effects. It’s tricky, and you’ll often need to have supplies of wiring, fixings and connectors. This page aims to help remove some pitfalls.
- There are 5v and 12v LED light strips so you’ll need the appropriate voltage power supply. More help on this later but for now know that 5v barely travels a couple of metres of 5v strip while 12v can power a whole 5 metre 12v strip.
- Look close at the LEDs and you’ll see useful markings on the strip. There’s a plus and a minus to show you which way round to connect the + and – power leads. There’s one (or more) connector probably marked D for data with an arrow showing the required flow of data. That’s the signal line. You MUST connect the signal/data line at the correct end else nothing with happen. Some LED strips have more than one signal line.
- The controller is a chip usually supplied in a plastic case with connectors. You can buy these separately and they connect in between the power supply and the LED strip. Some controllers have a button or two, some have microphones, some work with a remote control pad, some need an app to work over wifi or Bluetooth, some connect into your smart home ecosystem and some are simply stand alone controllers.
- You can make a LED controller with an ESP32 development board or an Arduino. On these chips you install software such as ESPhome or WLED and control the light using an app or web page.
- The connectors that you need vary somewhat. There are three or four pin connectors; and 5.5mm barrel connectors. Many are supplied with thin wires that are OK up to a point. I buy 0.75mm – 1mm silicone wire and make some of my own connectors.
- You can buy aluminium channel for fixing your lights or you can peel off the backing and stick them on whatever. Sometimes the channel, available in silver or black, really helps give a durable finish and a consistent look. Choose channel to match the width of your LED strip. Choose a clear or a smokey or a diffused cover. Brackets for fixing them are sometimes included, sometimes not. Channel may be sold in 0.5m lengths to make it more manageable.
- To be continued with pictures and detail. Questions welcome just now.