use one switch to turn on two lights – in any combination
The need: you use a table light for watching TV and a main (wall) light at other times and you want a coffee table button to switch between one or the other or have both lights on at once.
It’s done by linking the button to each light in a different way – and adding a few seconds delay to one of those ways so that the button is unresponsive for that time.
I’ve mentioned my preference for using a physical button switch, rather than an app to control individual smart devices. I’ve several push buttons that do this. That said, having too many buttons on a coffee table will be confusing so this tweak replaces two buttons with one.
What the push switch does
- Press once – side (secondary) light goes on – main (wall) light goes on
- Press again – side light goes off – main light stays on
- Press again – side light goes on – main light goes off
- Press again – side light goes off – main light stays off
- Press again – sequence above repeats
What I used
- Home Assistant running on a Raspberry Pi. See here on setting that up
- An RF push switch such as a 433 MHz push button. See here on the basics for setting up a 433MHz switch
- A Sonoff RF bridge or RFLink to listen for a button press. See here on setting that up
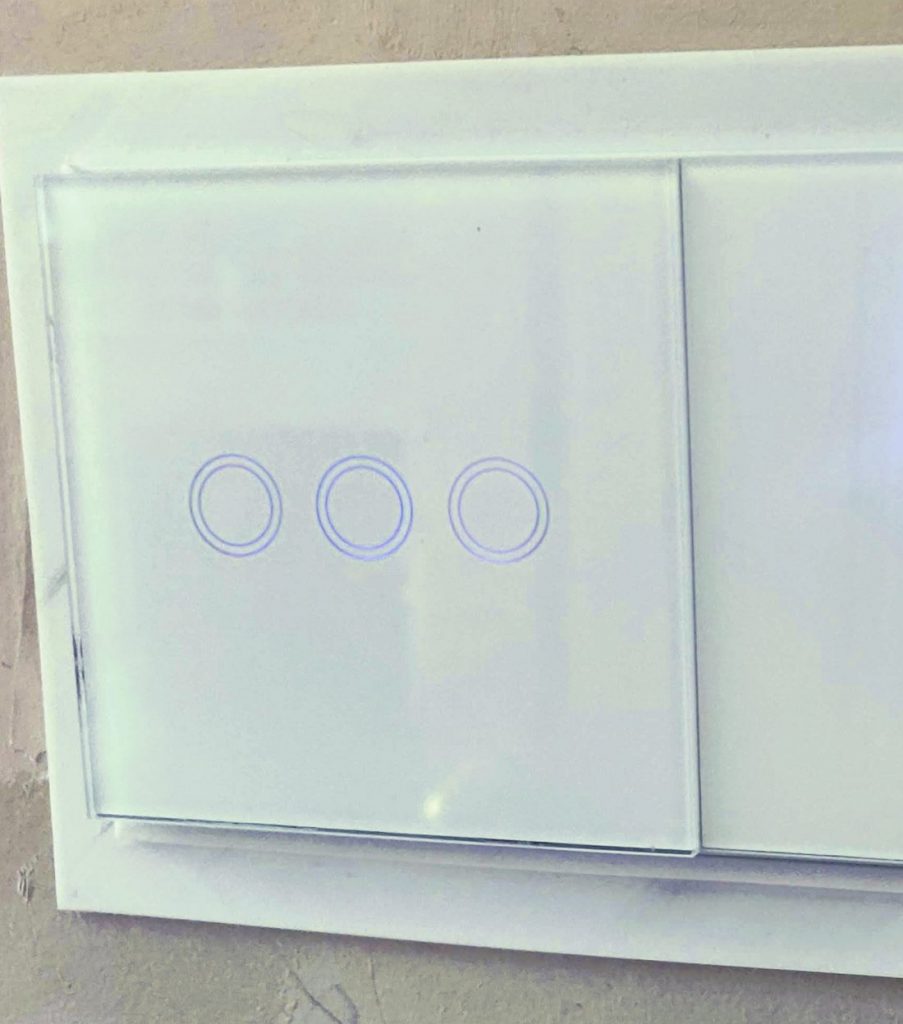
- A smart wall switch that responds to both wifi and RF. See how I installed it here
1. Pair the AOYAN TI EU RF wall switch with your RF push button

AOYAN wall switch RF and wifi 
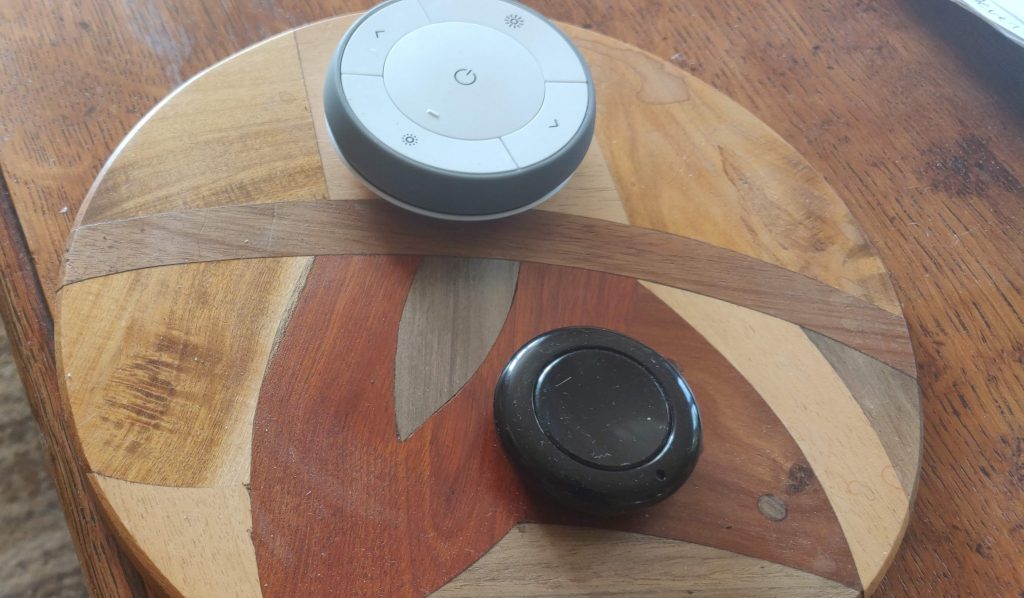
Generic black RF button from Aliexpress
Set the wall switch in pairing mode by pressing the button for several seconds (there are three but I use the one that controls the table light). When the light flashes click the RF button. The switch will now be paired so that when the RF button is pressed the light toggles on or off.
2a. In Home Assistant use File Editor to add this to your configuration.yaml
The magic below is in the off_delay: 3 setting. When I press the coffee table button the second time it will not be able to switch the main (wall) light for three seconds – but it WILL switch the side / table light. Remember that the side light is controlled by an RF pairing. By the third press of the button three seconds will have passed so it will switch the the main (wall) light.
binary_sensor:
# the following to be added to any existing binary sensor section
  platform: mqtt
  state_topic: "rfsignal/tele/RESULT"
  name: "walllightbutton"
  value_template: '{{value_json.RfReceived.Data}}'
  payload_on: "EFCA61"
  payload_off: "EFCA61off"
  device_class: power
# device: black round tabletop button
  qos: 1
  off_delay: 3
2b. Add the RF button to Home Assistant using a Sonoff RF bridge or RFLink bridge
You now want the button as an binary_sensor entity in Home Assistant. There are less complicated ways to do this – however I’m currently using a Sonoff RF bridge flashed with Tasmota so the first thing I had to do was to get the code from the push button (using Tasmota console) and then add this to Home Assistant.
No need to flash the Sonoff: since 2020, a Home Assistant custom component allows you to use the Sonoff RF bridge without the need to open it and flash it with new firmware. If you prefer this approach, as do I, see my eWeLink project.
alias: walllight_blackbutton
description: coffee table button press toggles wall light
trigger:
entity_id: binary_sensor.walllightbutton
from: 'off'
platform: state
to: 'on'
condition: []
action:
  service: switch.toggle
  entity_id:
    - switch.sonoff_1000af10aa


