smarter home heating with thermostatic radiator valves (TRV) and a review of the ‘tado’ TRV
With today’s energy issues it feels unnecessary to heat rooms we aren’t using. Back in the day we fitted thermostatic radiator valves (TRV) to radiators in central heating systems. We dial in low temperatures for the hall and bedrooms, higher temperatures for living rooms and turn off heating in an unused room.
That’s fancy but today smart TRVs save even more energy by say, not heating the living room in the morning or not heating the bedroom during the day. This is about my happy experience with the ‘tado’ smart TRV kit fitted to the main rooms of the house. This is cleverer than having ‘heating zones’ to do some of this with different plumbing.
I’ll describe about the minimum kit one need buy – e.g. I didn’t need a ‘tado’ boiler controller to make it all work. (However I was impressed enough to get one to replace my perfectly good Google Nest thermostat).

No, you don’t need a plumber to fit a tado smart TRV
You can fit a basic TRV kit yourself if you already have manual TRVs. You could also get a tado boiler programmer as described later.
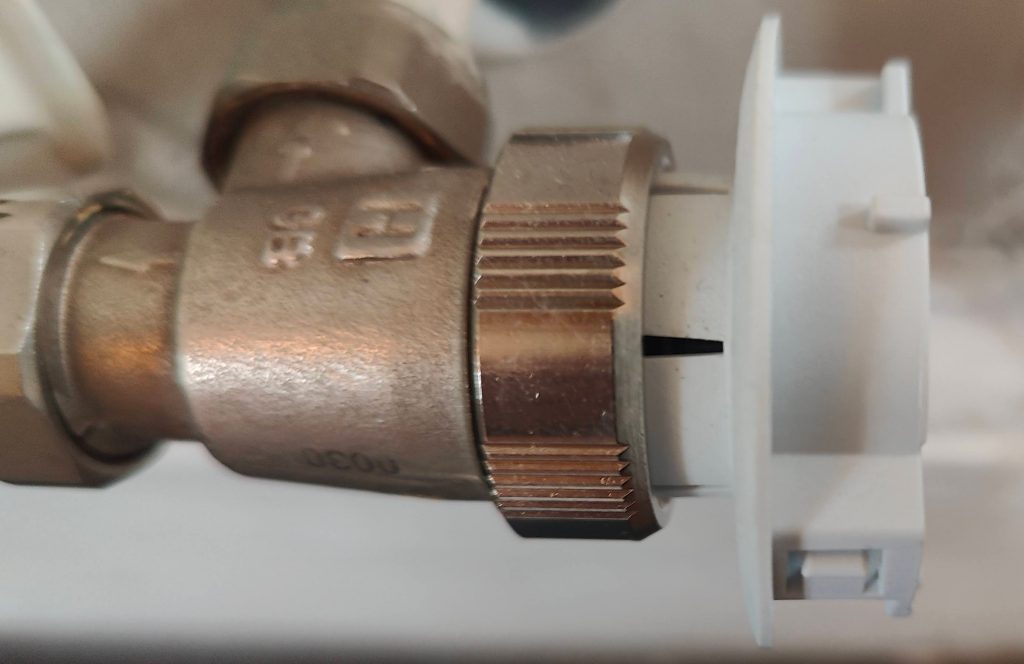
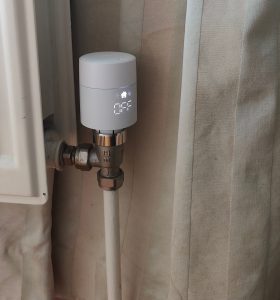
The ‘tado’ TRV is compatible with many brands of manual TRV – you unscrew a knurled ring of the existing valve (by hand) and replace it with the smart TRV. My existing valves were ‘Honeywell’ and they had the same M30 thread as the incoming ‘tado’ smart TRV. Some of my existing valves needed an adapter piece that came as part of the kit.
By the way: the other, and wrong end of your radiator will have a domed cap under which there’s a flat metal adjuster. This, the lockshield valve, is where hot water exits the radiator to go to the next radiator. You don’t ever touch this end of the radiator because it’s used to balance the flow of hot water between all the radiators. If for example you were to open the lockshield valve of one radiator you might find some other radiator becomes colder than it ought to be. However, if you have this sort of problem you’ll find guides on how to balance a central heating system. A condensing boiler requires a 20° cooler return temperature that probably needs to be factored into this adjustment.


At a cost of £50 – £75 each you might not put smart TRV everywhere
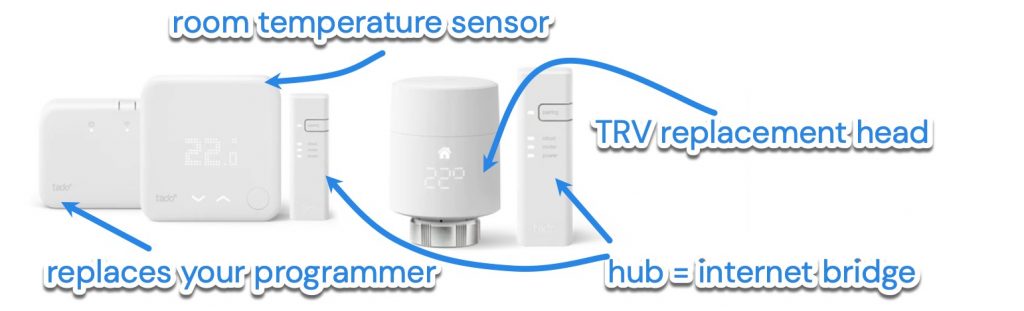
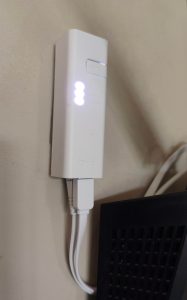
There’s a ‘tado’ TRV starter kit with one or more smart radiator valves. It comes with a tiny communication hub (the ‘Internet bridge’) to plug into your router. You use an app to set the time and temperatures for the room that has the smart TRV. The app talks to the hub and the hub talks with the radiators. The result is that a smart ‘tado’ TRV turns off the heat in eg a bedroom that doesn’t need heat during the day. The smart TRV also does what a manual TRV does: it stops heating a room that’s already up to temperature. Ideally you want a smart TRV in any room that doesn’t need heat when you’re heating some other room – but you’ll probably compromise because of their cost: in my home the occasionally used rooms are the living room, bedroom and kitchen so these have smart TRVs. The most used, most heated room (the office) DOESN’T need a TRV. The unused rooms have their radiators turned off anyway so they have manual TRV. I haven’t afforded myself a TRV in the bathroom so this, and the office, are heated whenever the heating boiler is set to run.
One caveat is that your boiler and its programmer run independently of the TRV settings. The TRVs can’t turn on the boiler so you must set the boiler heating schedule to overlap the times when you set the radiator to ‘on’. If you want the TRV’s to turn the boiler on or off you’ll need the tado wireless smart thermostat as follows.
If you also buy a wireless receiver kit / smart thermostat / wireless temperature sensor the TRVs can control the boiler
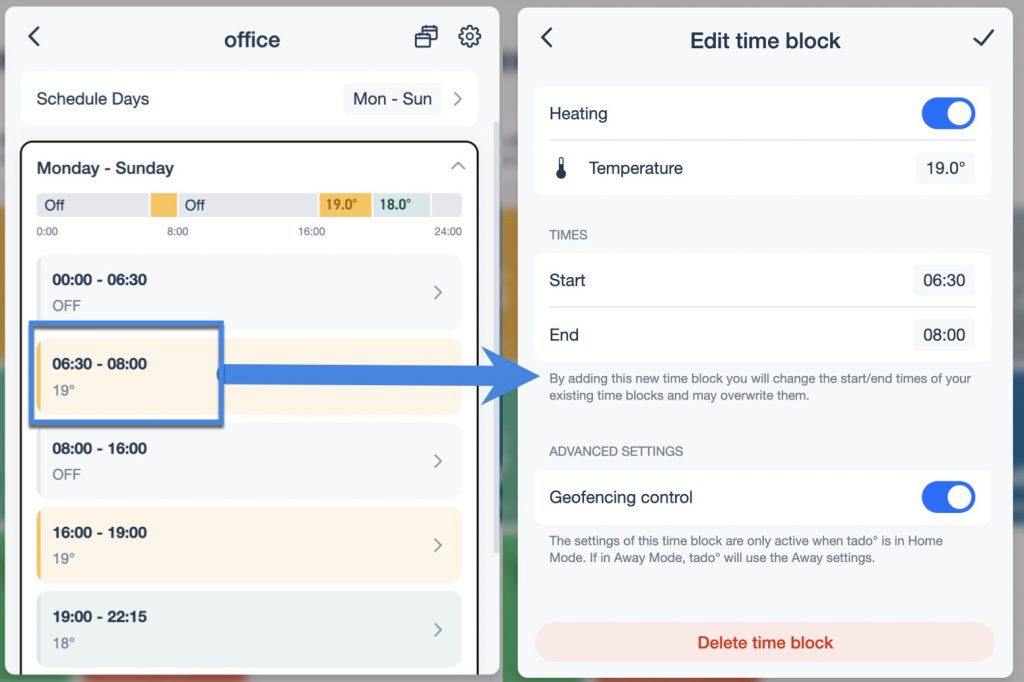
The tado wired/wireless smart thermostat kit replaces the programmer that’s often found in the hall of a house. This device lies in wait for any TRV or the schedules in the app to call for heat. There’s a wireless temperature sensor to stick to the wall and it can also call for heat. I put mine in my most heated room – a room without a TRV. The tado kit now provides effortless control. I only had to enter a schedule for each room that had a tado device. The app picture below gives the sense of how you enter the schedule – it takes under an hour to do this for several rooms.
Thermostatic radiator valve (TRV) FAQ
Should I set the temperature high if I want the room to warm up faster?
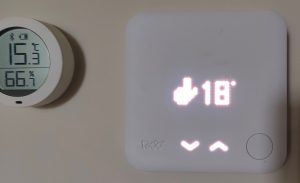
No! Setting the smart TRV temperature higher than you need does NOT improve how the radiator heats. The smart TRV always turns on fully so it can go no faster. A tado smart TRV is either fully on or fully off and there is no middle position. Equally turning the whole house temperature higher than needed doesn’t warm the house faster. Thermostats are a great convenience: whacking temperatures extra high and then later turning them extra low is a waste of effort.
What happens when I manually turn up a radiator setting? Does it stay up forever?
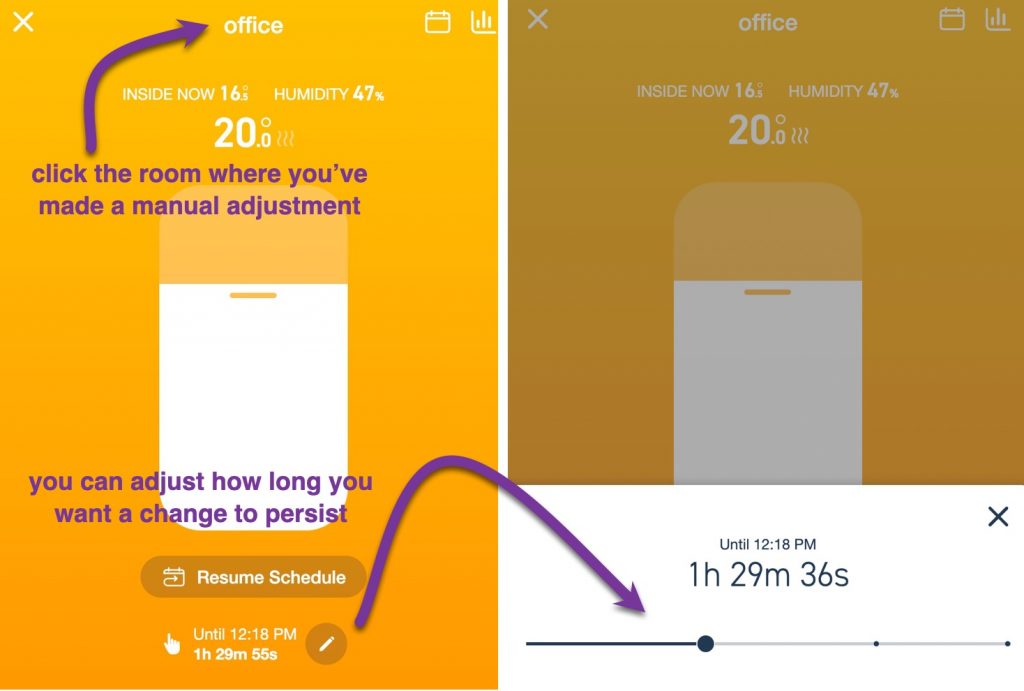
When you manually turn up a radiator setting on a system with boiler control the heating will of course turn on. The tado app allows you to set what happens next – you can ask for any change or ‘call to heat’ to last for an hour and then revert to the schedule. Or you can ask for the call for heat to last until the next schedule change. You could also ask for the heating to remain like this forever – though I struggle to find a reason.
To set the default action for future manual changes to the schedule go to Settings > Room & devices > Choose each room in turn and set a change to last until the next schedule change.
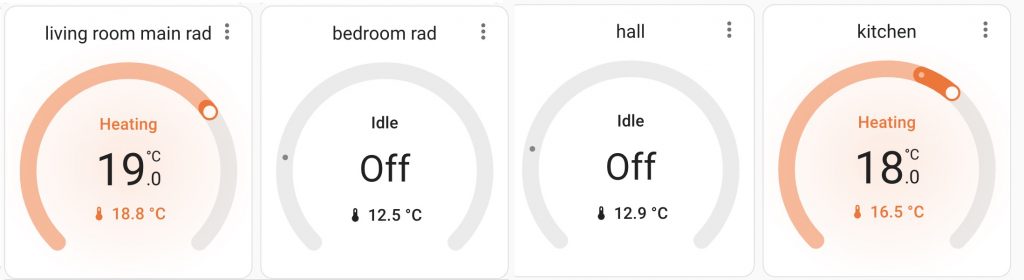
To set the duration of a manual change ‘on the fly’ don’t go to settings, go to the room on the tado dashboard to see the setting opposite:
Any more? What is the ‘window open’ alert? What is ‘geofencing control’?
The tado system can be set to send you a ‘window open’ alert when it senses that a room isn’t heating up as expected eg a door or window is open. It’s then up to you whether you attend to the door or stop heating that room. Also as you see above in [edit time block] there’s a check-box called [geofencing control] which senses if you’re away from home and sends an alert. It’s up to you to decide whether you want the house heating to be on. I suggest to keep the [geofencing control] box checked to allow for lapses of memory when you go away. I needed to have the geofencing control checkbox ‘on’ to be able to tell the app I’m away today.
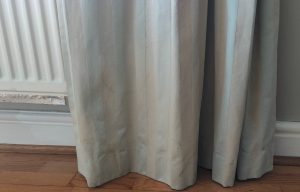
- tip: don’t drape curtains over radiators.
- tip: there’s nothing particularly accurate about one temperature sensor measuring a ‘room temperature’. And keeping warm doesn’t need precision to 0.1° C. Indeed I doubt that you can detect a difference of even 1°C.
- tip: do appreciate that the TRV isn’t in the best place in the room as it is right beside the radiator! The tado app lets you add an offset to your set temperatures if say, they appear inaccurate.
- tip: to save setting up time I used the tado app to set a schedule for one room and then I copied the schedule to another room to modify the schedule for the other room.
- tip: I eventually realised that I needed different settings when I have guests staying over Christmas. Ideally the tado app would have a different profile for these unusual times. I work round this by changing [Schedule days] from [Mon – Fri, Sat, Sun] to [Mon – Sun] and create a different time / temperature schedule for each room.
- tip: if you have the boiler programmer / thermostat system you’ll have a ‘zone controller’. Ensure that each room in the app is controlled by this ‘zone controller’. It is tragic that this system doesn’t recognise other brands of smart thermostat as zone controllers. (But some people will be able to program Home Assistant to make zone controllers work across different brands).
- tip: [early start] is another app feature that gets the room up to temperature at the set time. (On the Google Nest system this is called ‘time to temperature’). Clicking [early start] saves you working out how long the room will take to heat up. I leave this OFF because my old house boiler would run 24/7 trying to get up to temperature.
- tip: the app provides a good report of your heating history in each room. It also provides a minimal report on your energy savings. For any more than this you’ll need to subscribe to Auto-Assist.
- how does tado communicate? the tado TRVs and wireless thermostat communicate using 866 MHz radio frequency pulses which travel much further than say, wifi or Bluetooth signal. (In contrast wireless doorbells use 433MHz RF) The internet hub uses wired ethernet to connect with your phone and PC via the local network/internet/cloud.
a bonus if you use Home Assistant (or Google display or Echo display)
If you have a smart display (Google or Amazon echo) you can link your tado devices to your ‘home’ and adjust a thermostat in any room on the screen. If you have Home Assistant running on a Raspberry Pi (here’s how) the tado connects very easily to it to show the same and allow you to set a temperature on the fly.
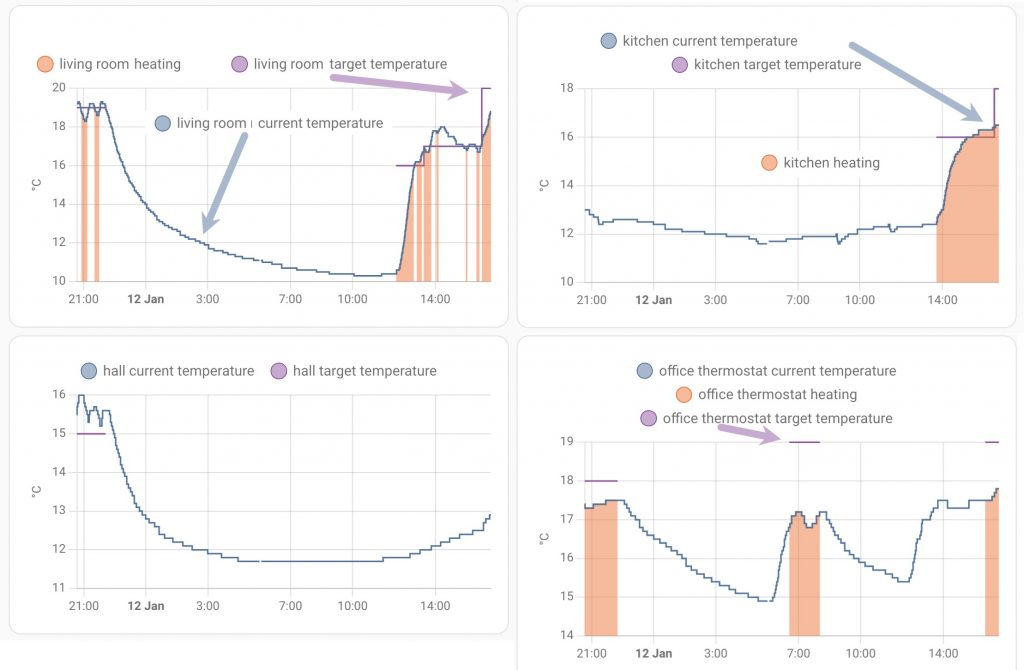
However there’s more with Home Assistant: if you make a history graph with your tado thermostats you’ll see graphs similar to those below. With these you can work out how fast your rooms warm and cool – and this helps you to set better times and temperatures in a schedule. The pale orange areas show when the heating was on for that room. The purple line shows the set or target temperature at any time so we can deduce whether that room has adequate heating / insulation. The blue line shows the actual temperature of the room – the room temperature at this moment would be the temperature at the extreme right of the graph. The rest of the temperatures are the temperature history.